Mural in local primary school

Completed mural

Being commissioned to create a large mural in the playground at a primary school in Sheffield was an exciting and rewarding experience.

The project, which took place in 2022, involved painting a 6.4-meter-wide by 1.7-meter-high brick wall in the KS2 playground. I had only painted one mural before,  which is on some gates next to a shop near my house. The success of these gates led to a member of staff at the primary school inviting me to quote to paint a mural in their school playground. 

The school wanted the mural to be as collaborative as possible, involving the school children in the design & composition and even in the painting stages. As I am used to working with children of all ages, this was an opportunity to combine my teaching experience and my skills as an artist to ensure the mural truly reflected the children’s perspectives on the chosen theme, which was ‘where I live.’


Initial phase: Collecting the Children's drawings.

Before beginning the design, I requested that the children draw pictures related to the ‘where I live.’ theme. The response was overwhelming; I received about 250 drawings from the teacher I was liaising with. These drawings, which depicted local shops, houses, the church, the park, vehicles, nature, and the school, were sorted into thematic groups. My studio floor was soon absolutely covered in piles of colourful and imaginative drawings.

Selection of Drawings

From the various themes, I selected drawings that had an element that really made me smile. Something about them was really original and quirky, or beautifully drawn or just showed a great amount of effort and creativity. I knew that I wanted to include these drawings in the mural in some way. 

Here are just a few of the drawings.

Graves park duck pond drawing by kS2 child
A drawing of the main road through Woodseats and Abbey Lane drawn by a KS2 child
A drawing of a squirrel by a KS2 child
A drawing of clouds by a KS2 child
blooms
boats
pond
crying-tree

Collaborative Composition with the Children

The next step was to involve the children in the composition process. I visited the school and spent a day with several small groups from KS2. Together, we organised the drawings to create a cohesive composition. Given the mural’s long and narrow dimensions, we discussed creating some kind of map like design that included the various buildings, roads, and other features depicted in their drawings.

group-photo-1-1
group of drawings arranged by KS2 students
Group of drawings arranged by KS2 students

Creating the Mock-Up

I photographed the different arrangements created by the children and then made a scaled mock-up of the mural at home. This mock-up involved making little collages and drawings based on the children’s artwork. The mock-up was shown to the staff member I was liaising with, who was delighted with the proposed design.

Below are some of the collages I made and I’ve put some of the drawings next to them to show you how I developed the ideas inspired by the children’s drawings.

collage detail
school-drawing-2
drawing and collage of houses
grid house
grid-building-1
collage-sun
bus-collage-3
drawing of where we live including a fantastic bus
sun drawing
chimneys
collage of chimney
zebra-collage

Painting the Mural

With the design approved, it was time to start painting. I began by applying a coat of primer to the textured wall, which took quite some time. Once the primer was in place, I sketched out the mural using the mock-up as a guide. The next step was painting on the details.

mock up mural
The 'mocked up' mural

Execution and Interaction

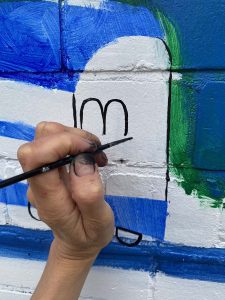
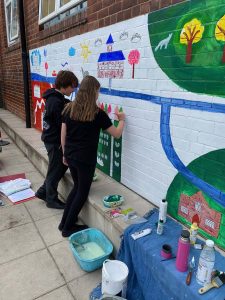
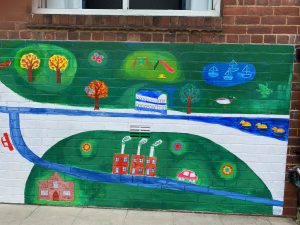
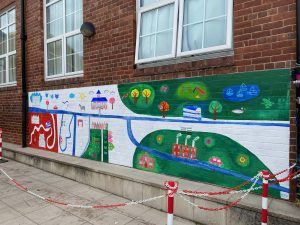
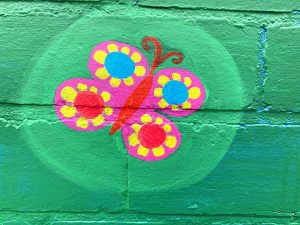
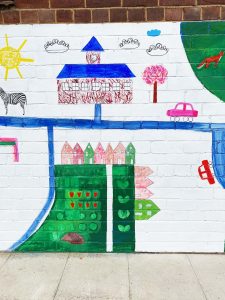
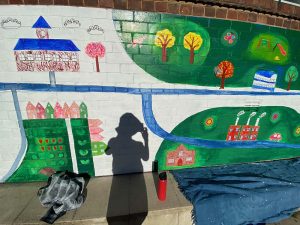
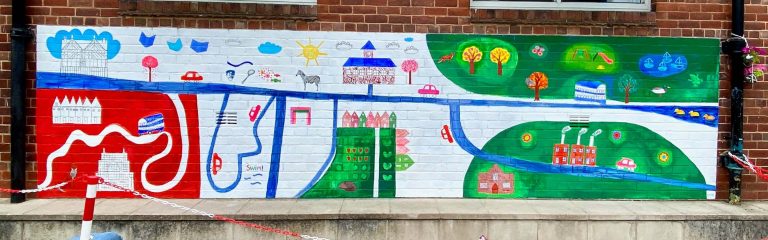
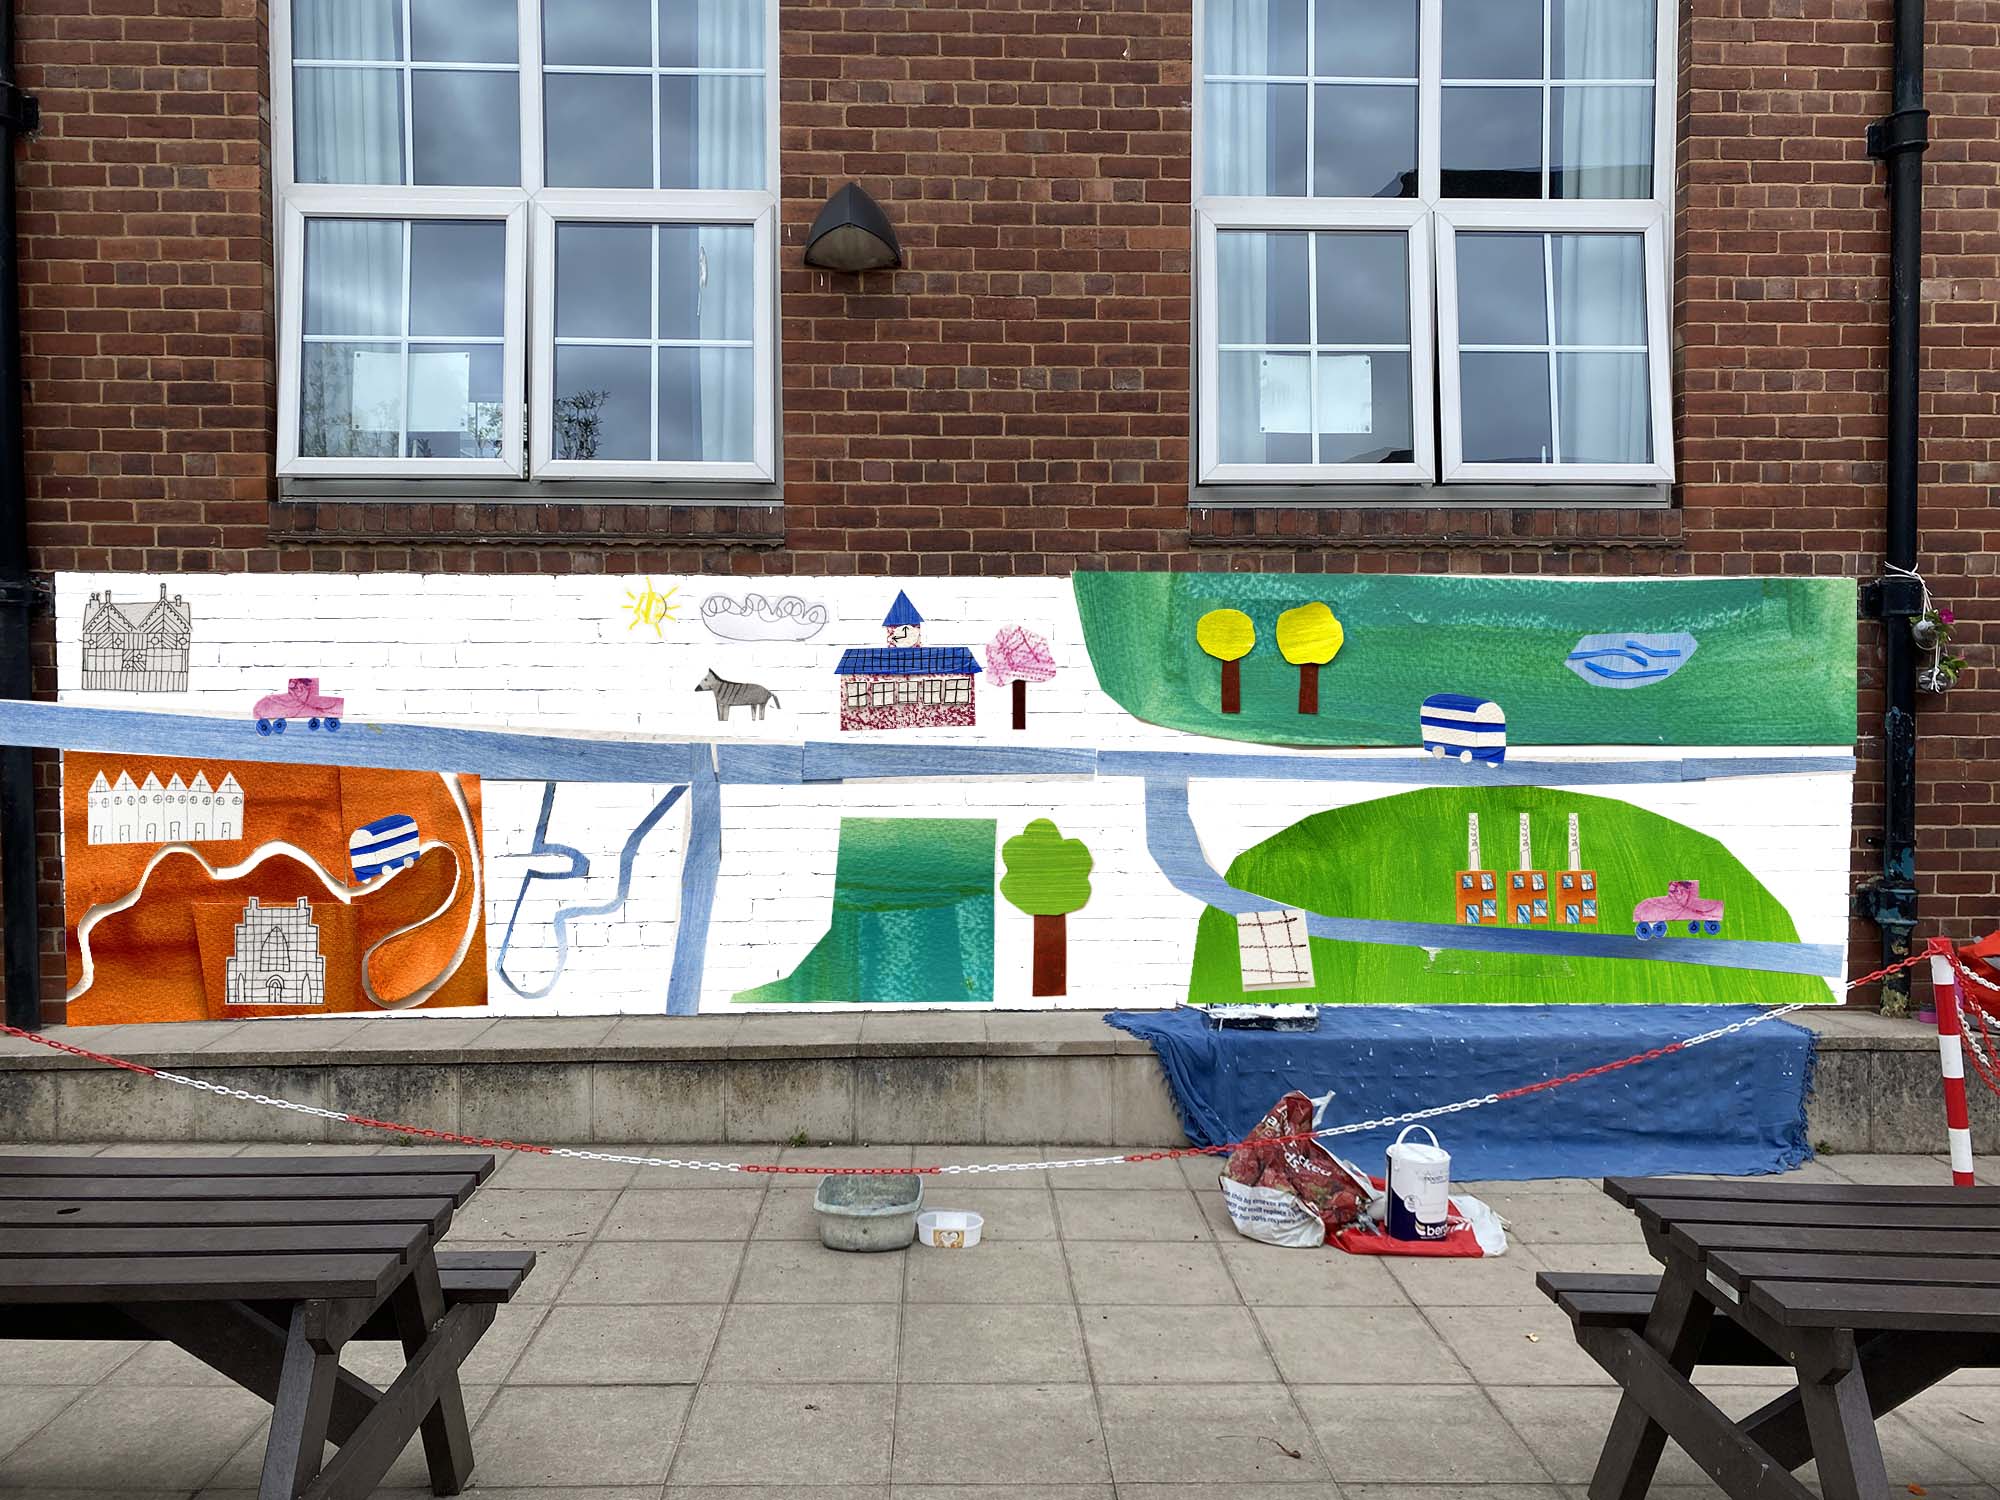
Obviously painting outside meant the weather had to be taken into consideration. Over the two weeks or so I was painting, it went from grey, cold and wet to absolutely scorching hot! To make the most of cooler mornings and avoid the midday heat, I started painting as early as 6am.

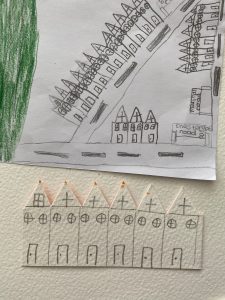
During break times the children were very curious and loved watching me paint. They frequently gathered along the edge of the perimeter chain to ask questions, with “what are you painting” definitely being the most common inquiry. 😂

bus-detail
double-decker-detail-1
colourful-car
3-chimneys
school
left side of mural

Final Adjustments and Realism

I realised that incorporating images that were more realistic, illustrative and colourful, in addition to the paintings inspired by the children’s drawings, added something to the mural. The children and staff were really drawn to the more realistically painted animals. They also loved the playful, childlike flowers, trees and cars.

I also added some imagery that had to be deciphered, such as the Zebra, the sweets and the flying books to represent local shops and the library.

This combination of styles and hidden clues enhanced the overall look of the mural and also encouraged a lot of engagement from the children

painting-the-centre-part
ducks and pond
2-helpers
small-fox
fox
the right of the mural
painting the squirral
side-view-of-mural
hedgehog
butterfly-detail
centre of mural
sunny-photo

Conclusion

This project was not only about creating a beautiful mural but also about involving the children in a creative process that reflected their views and experiences. After the mural was complete I visited each class in the school and gave a short presentation explaining the choices of imagery and how as the children had helped design the mural at each stage of the process. The final mural stands as a testament to the creativity and collaboration of the school community, transforming the playground into a colourful and meaningful space.

It is two years since the mural was completed. I hear it is still looking as good as new and a young student there tells me that it serves as a landmark for many of the children who arrange to meet ‘by the fox” or play ‘count the ducks’ and other made up games. It’s so lovely to know the mural continues to inspire.